🕹️ Lesson 4.2: Moving a Player Character
Time to make something you can actually control. We'll build a player from a capsule and write a short script that walks it around using the input you learned to read.
🎯 Learning Objectives
- Set up a simple player object
- Combine Horizontal + Vertical input into a movement direction
- Move the player smoothly with
Time.deltaTimeand a tunable speed - Understand why we build a
Vector3movement each frame
Estimated Time: 40 minutes
In This Lesson
Building the Player
Our player will be a simple capsule (a great stand-in for a character). Here it is on the floor with a couple of collectibles nearby — the beginnings of a game:
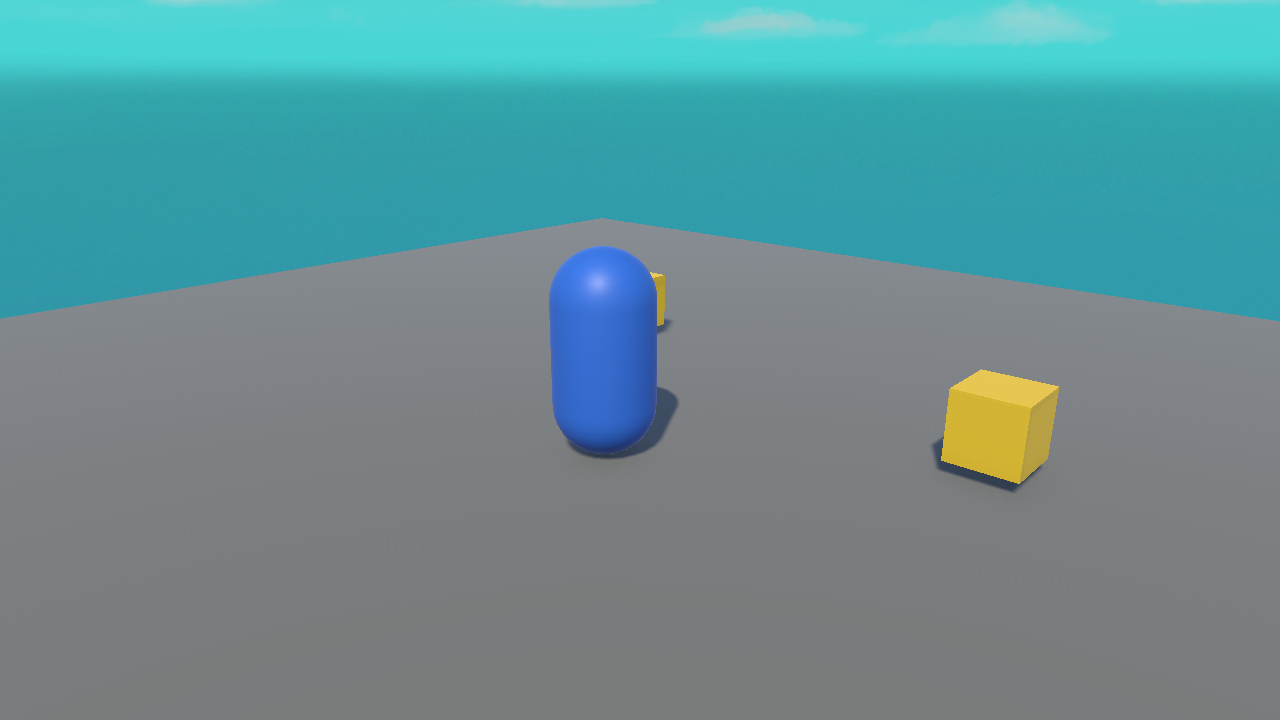
- Add a Plane for the floor and a Capsule for the player.
- Set the Capsule's Position Y to
1so it stands on the floor. - Rename the Capsule to
Playerand (optionally) give it a coloured material.
The Movement Script
Create a script called PlayerMovement and attach it to the Player:
using UnityEngine;

public class PlayerMovement : MonoBehaviour
{
    public float speed = 5f;   // units per second

    void Update()
    {
        // 1. Read input (-1..+1 on each axis)
        float h = Input.GetAxis("Horizontal");
        float v = Input.GetAxis("Vertical");

        // 2. Build a direction: X from h, Z from v
        Vector3 move = new Vector3(h, 0f, v);

        // 3. Apply movement, scaled by speed and frame time
        transform.Translate(move * speed * Time.deltaTime);
    }
}
Press Play and steer with WASD or the arrow keys. Your capsule glides around the floor. That's a controllable character in twelve lines!
How It Works
from keys] --> B[Make Vector3
h, 0, v] B --> C[Multiply by speed
and deltaTime] C --> D[transform.Translate
moves the player]
- We put
hon X (left/right) andvon Z (forward/back). Y stays 0 — we don't want the player flying up. - Holding two keys (e.g. up + right) gives diagonal movement automatically, because both axes have values.
Time.deltaTimekeeps the speed consistent everywhere (Lesson 3.3).
✅ Pro Tip
Tune Speed in the Inspector while the game runs. Too slow feels sluggish; too fast feels slippery. Finding the "feel" by tweaking a public field is exactly how real games are balanced.
⚠️ Diagonal is faster?
With raw axis values, moving diagonally can be slightly faster than straight. For this course that's fine; if it bothers you, look up Vector3.ClampMagnitude or .normalized later. Don't let it distract you now.
Hands-on Exercise
🏋️ Exercise: Walk the floor
- Build the Player capsule and attach
PlayerMovement. - Press Play and drive around with WASD / arrows.
- Change Speed in the Inspector to find a feel you like.
- Challenge: add a jump — when Space is pressed, nudge the player's Y up. (We'll do proper physics jumps in Module 5; a simple version is fine here.)
💡 The player won't move
Three usual causes: (1) the script isn't on the Player, (2) Speed is 0, or (3) Active Input Handling isn't set to Both (Lesson 4.1). Check the Console for input errors.
✅ Simple jump nudge
if (Input.GetKeyDown(KeyCode.Space))
{
    transform.Translate(0f, 1.5f, 0f);  // a quick hop (not real physics)
}
🎯 Quick Quiz
Question 1: In new Vector3(h, 0f, v), why is the middle value 0?
Question 2: Removing * Time.deltaTime would cause…
Summary
🎉 Key Takeaways
- Read
HorizontalandVertical, then build aVector3(h, 0, v). - Move with
transform.Translate(move * speed * Time.deltaTime). - Keep Y at 0 to stay grounded; tune
speedin the Inspector for feel. - Diagonal input combines automatically from the two axes.
🚀 What's Next?
Your player moves — but the camera sits still and the player can wander off screen. Lesson 4.3 makes the camera follow.