🖼️ Lesson 6.1: Building a UI Canvas
Games talk to players through on-screen text and buttons — a score, a timer, a "Play Again" button. In Unity, all of that lives on a Canvas. Let's build a heads-up display.
🎯 Learning Objectives
- Create a Canvas and understand Screen Space – Overlay
- Add TextMeshPro text and a Button
- Use anchors so UI stays put on any screen size
- Recognize the auto-created EventSystem
Estimated Time: 35 minutes
In This Lesson
What We're Building
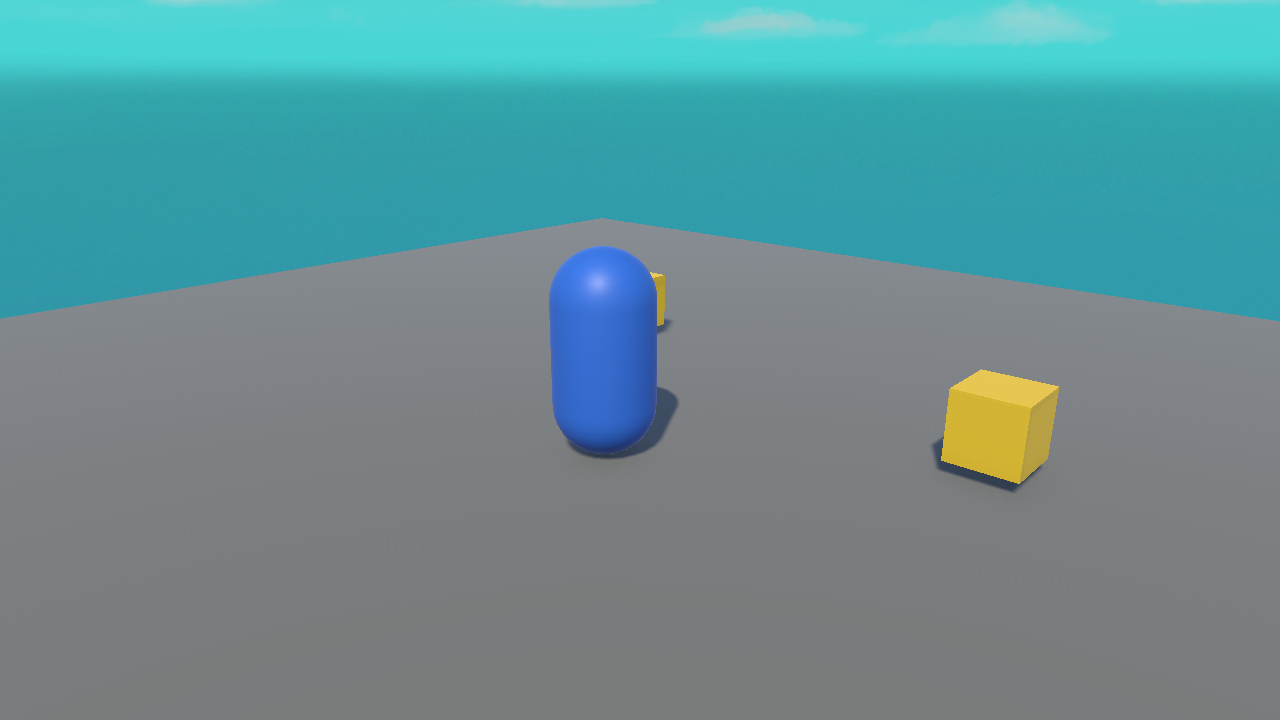
A HUD (heads-up display) sits on top of the game view. Here's our game with a score in one corner, a timer in the other, and a button — exactly what a Canvas lets you add:
 ⭐ Score: 3
⏱ 0:42
Play Again
⭐ Score: 3
⏱ 0:42
Play Again
The Canvas
All UI must live inside a Canvas. When you add your first UI element, Unity creates a Canvas automatically (plus an EventSystem that handles clicks).
- Add one directly with GameObject ▸ UI ▸ Canvas.
- Its default Render Mode is Screen Space – Overlay — the UI is painted flat over the screen, always on top, no matter where the camera looks. Perfect for a HUD.
📖 Definition
Canvas: the root container for all UI in a scene. EventSystem: a companion object Unity adds automatically that routes clicks and input to your UI (buttons won't work without it).
💡 UI looks huge in the Scene view. That's normal — the Canvas is drawn at screen scale, which is enormous next to your 3D objects. Judge it in the Game view, not the Scene view.
Adding Text & Buttons
Add UI from GameObject ▸ UI:
- Text – TextMeshPro — crisp text for a score or label. (The first time, Unity asks to import "TMP Essentials" — click Import.)
- Button – TextMeshPro — a clickable button with a text label.
Select the text and, in the Inspector's TextMeshPro - Text (UI) component, type your message and set the font size and colour. We'll change the text from code next lesson.
✅ Pro Tip: TextMeshPro
Always use TextMeshPro (TMP) rather than the old "Text" component — it stays sharp at any size and is the modern standard. When scripting it, you'll use TMP_Text or TextMeshProUGUI.
Anchors: Staying Put on Any Screen
Players have all kinds of screen sizes. Anchors pin a UI element to a part of the screen so it stays there when the window resizes. A score anchored to the top-left stays top-left on a phone or an ultrawide monitor.
- Select a UI element; in the Inspector click the Anchor Presets box (top-left of the Rect Transform).
- Pick a preset — e.g. top-left for a score, top-right for a timer, bottom-centre for a button. (Hold Shift+Alt while clicking to also set position.)
⚠️ UI drifts off-screen when I resize
That means it's anchored to the centre but positioned far away. Re-anchor it to the corner it belongs in, so its position is measured from that corner.
Hands-on Exercise
🏋️ Exercise: Your first HUD
- Add UI ▸ Text - TextMeshPro (import TMP Essentials if asked). A Canvas appears automatically.
- Set its text to
Score: 0, make it big, and anchor it to the top-left. - Add a Button - TextMeshPro, label it "Play Again", and anchor it to the bottom-centre.
- Switch to the Game view and confirm the HUD looks right. Resize the Game view — the HUD stays anchored.
💡 My text is invisible / off-screen
Look in the Game view, not Scene view. If still missing, check its anchor/position and that its colour isn't the same as the background.
🎯 Quick Quiz
Question 1: Where must all UI elements live?
Question 2: What do anchors do?
Summary
🎉 Key Takeaways
- All UI lives on a Canvas; an EventSystem is added automatically for clicks.
- Screen Space – Overlay draws the HUD flat over the screen.
- Use TextMeshPro for text and buttons — crisp at any size.
- Anchors keep UI in place across screen sizes; judge UI in the Game view.
🚀 What's Next?
A static "Score: 0" isn't much use. Lesson 6.2 makes it count — updating live as the player collects.