🧱 Lesson 1.4: Creating & Saving Your First Scene
Enough looking around — let's build. In this hands-on lesson you'll create a fresh scene, add a floor and a cube, position them, and save your work. It's small, but it's your first Unity scene.
🎯 Learning Objectives
By the end of this lesson, you will be able to:
- Create a new, empty scene and understand its default contents
- Add objects using the GameObject menu (a Plane and a Cube)
- Position objects so the cube rests on the floor
- Save your scene into the Scenes folder and know why saving matters
Estimated Time: 30 minutes
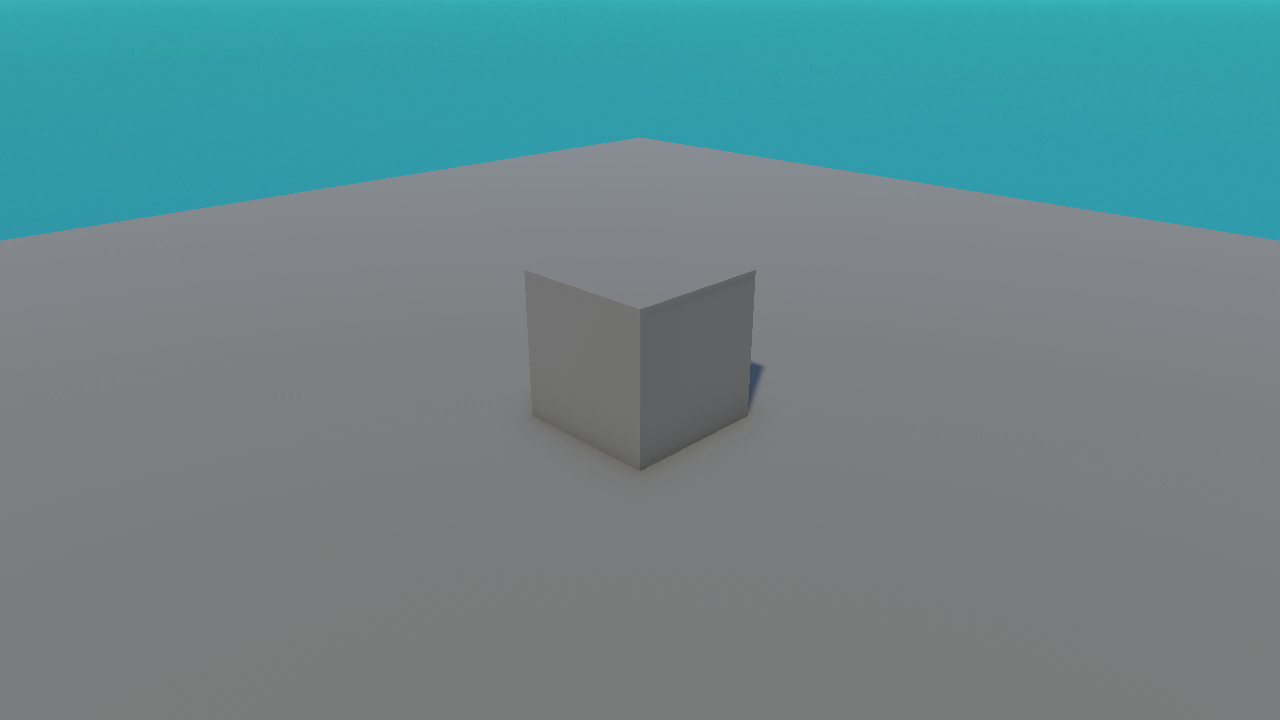
Project: Recreate the simple cube-on-a-floor scene shown below — entirely by yourself.
In This Lesson
What We're Making
Here's the target — a flat floor with a single cube resting on it. It looks plain, but making it teaches you the core create-position-save loop you'll repeat forever:
Creating a New Scene
A scene is a single screen, level, or environment of your game — a container for objects. Let's make a fresh one.
- From the top menu, choose File ▸ New Scene.
- In the dialog, pick the Basic (URP) template and click Create.
- Look at the Hierarchy — a new scene already contains two objects: a
Main Cameraand aDirectional Light.
📖 Definition
Scene: a saved arrangement of GameObjects — think of it as one level or screen. A game is made of one or more scenes. Scenes are saved as .unity files in your project.
💡 Why a camera and a light already? Without a camera the player would see nothing, and without a light everything would be pitch black. Unity gives you both so your scene is visible from the start.
Adding Your First Objects
Objects are added from the GameObject menu at the top (you can also right-click in the Hierarchy). For basic shapes, look under 3D Object:
Add the two objects:
- Choose GameObject ▸ 3D Object ▸ Plane. A flat floor appears at the world origin. This is our ground.
- Choose GameObject ▸ 3D Object ▸ Cube. A cube appears — but it's half-buried in the floor. We'll fix that next.
✅ Pro Tip
New objects appear at position (0, 0, 0) — the world origin. That's why the cube starts embedded in the plane: they're both centred on the same spot.
Positioning the Cube
A default Cube is 1 unit tall. Its centre sits at the floor, so half of it pokes through. Lift it up by half its height so it rests neatly on top.
- Click the Cube in the Hierarchy to select it.
- In the Inspector, find the Transform component.
- Set the Position Y value to
0.5. (Click the Y field, type0.5, press Enter.)
The cube now sits perfectly on the floor — exactly like Figure 1. Notice you didn't move it by dragging; you typed an exact value. Precision like this is one of the Inspector's superpowers.
⚠️ Remember the axes: X is left/right, Y is up/down, Z is forward/back. We raised Y because we wanted the cube to go up.
Saving Your Scene
Your scene only exists in memory until you save it. Do it now — and often.
- Press Ctrl+S (Windows) or Cmd+S (Mac). Or use File ▸ Save.
- The first save asks for a name and location. Save it inside the Assets/Scenes folder as
MyFirstScene. - Look in the Project panel — your
MyFirstScenefile now appears in the Scenes folder.
⚠️ The golden habit: save early, save often
Unity does not auto-save your scene. Press Ctrl+S after every meaningful change. An unsaved scene shows an asterisk * next to its name in the title bar — treat that asterisk as a nudge to save.
Hands-on Challenge
🏋️ Exercise 1: Build the scene from Figure 1
Objective: Recreate the cube-on-a-floor scene entirely yourself.
- Create a new Basic (URP) scene.
- Add a Plane (floor) and a Cube.
- Set the Cube's Position Y to
0.5so it rests on the floor. - Save the scene as
MyFirstScenein Assets/Scenes.
💡 Hint: my cube is sunk into the floor
That means its Position Y is still 0. Select the cube, and in the Inspector set Transform → Position → Y to 0.5.
✅ Success check
You should have a Plane and a Cube in the Hierarchy, the cube sitting on top of the floor in the Scene view, and a MyFirstScene file in Assets/Scenes with no asterisk in the title bar (meaning it's saved).
🏋️ Exercise 2: Experiment
Add a Sphere next to the cube (GameObject ▸ 3D Object ▸ Sphere). Set its Position X to 2 so it sits beside the cube. Save again. You've just placed three objects in a scene — the beginning of every game.
🎯 Quick Quiz
Question 1: A brand-new scene already contains which two objects?
Question 2: Your default cube is half-buried in the floor. What fixes it?
Summary
🎉 Key Takeaways
- A scene is a container of objects — a level or screen — saved as a
.unityfile. - New scenes come with a Main Camera and a Directional Light.
- Add objects from the GameObject ▸ 3D Object menu; they start at the origin (0,0,0).
- Type exact values in the Inspector to position objects, and Ctrl+S to save — early and often.
🚀 What's Next?
You've placed objects — but what are they, really? In Module 2, Lesson 2.1 we open up the single most important idea in Unity: GameObjects and the components that make them tick.
🎉 Your first scene — done!
You created, positioned, and saved a real Unity scene. That's the loop behind every game ever made in Unity.